
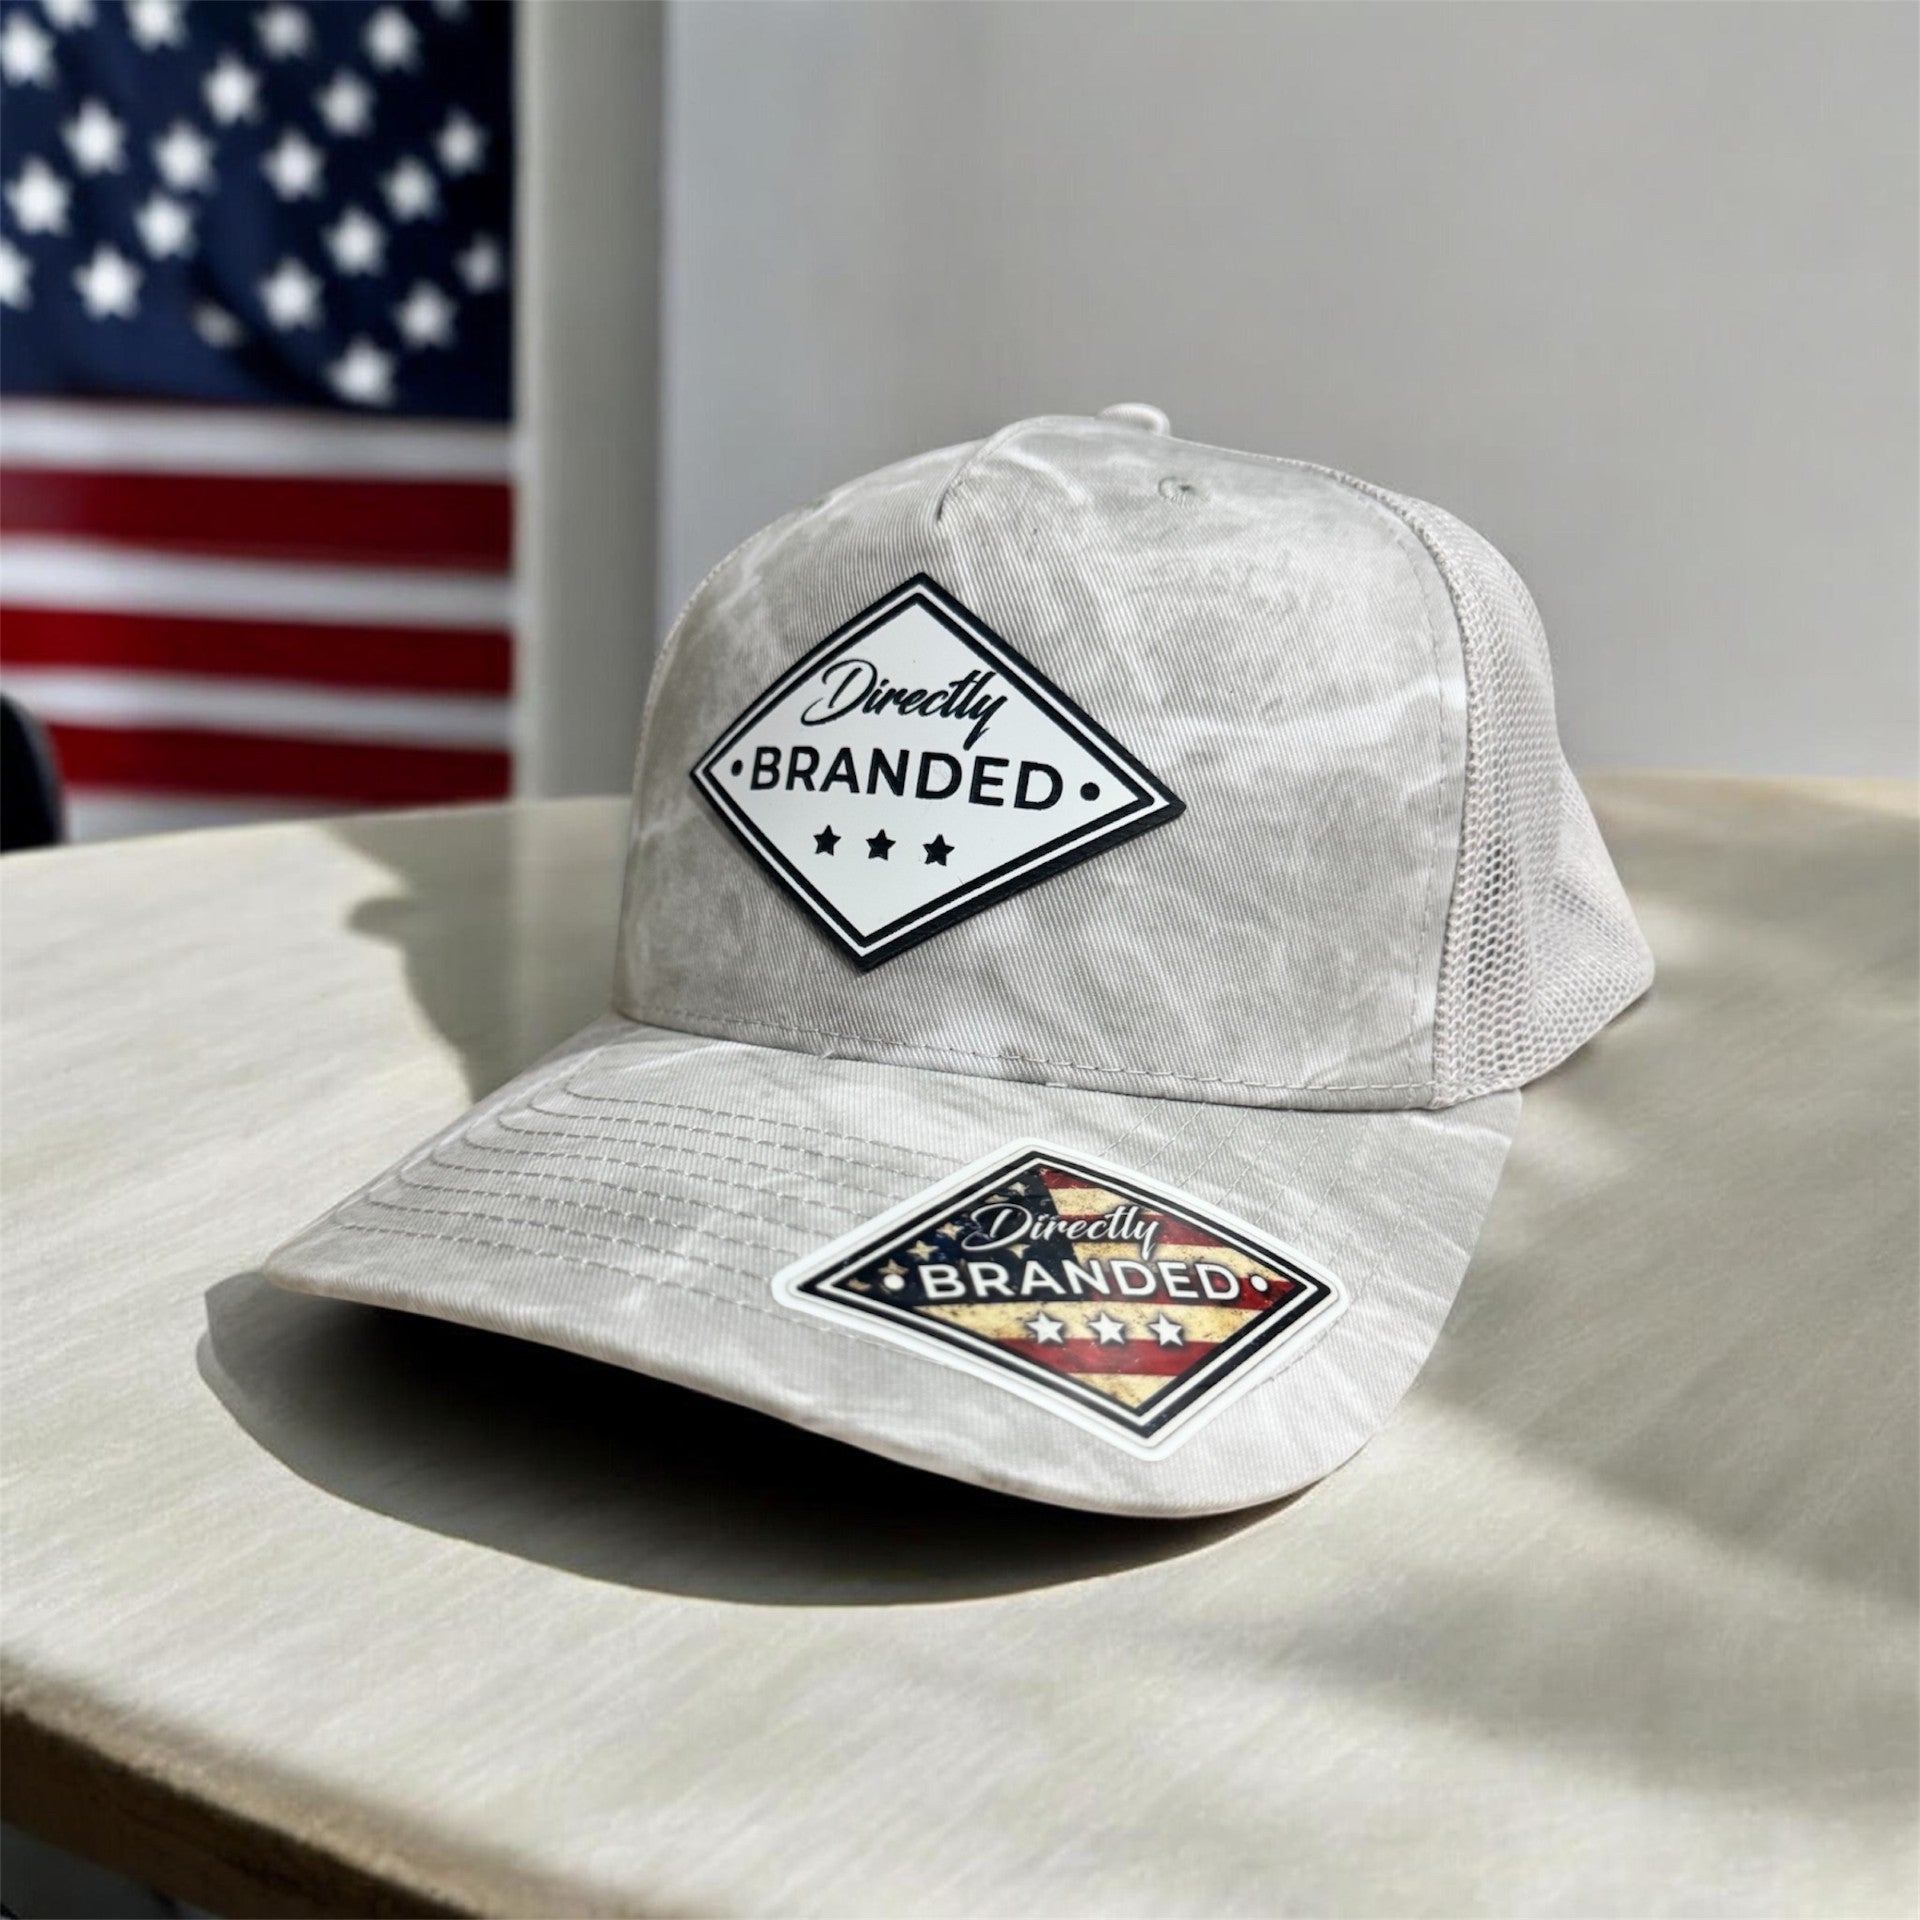
An embroidered trucker hat isn’t just another cap, it’s stitched artwork. Whether it’s a custom logo, leather patch, or detailed thread design, washing it the wrong way can warp the brim, fade colors, or fray stitching.
Here’s the safe, professional way to clean it.
Know What You’re Working With

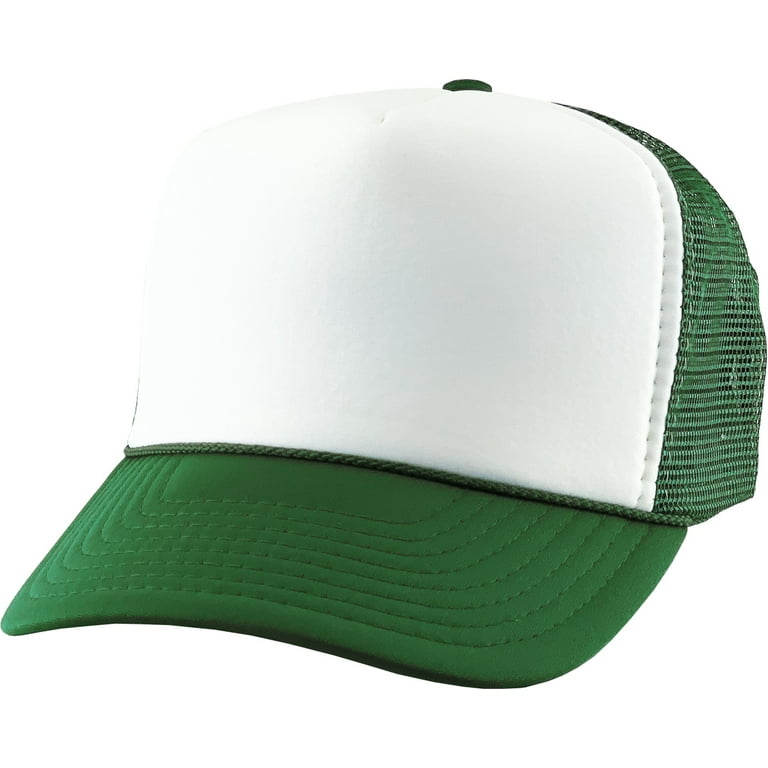
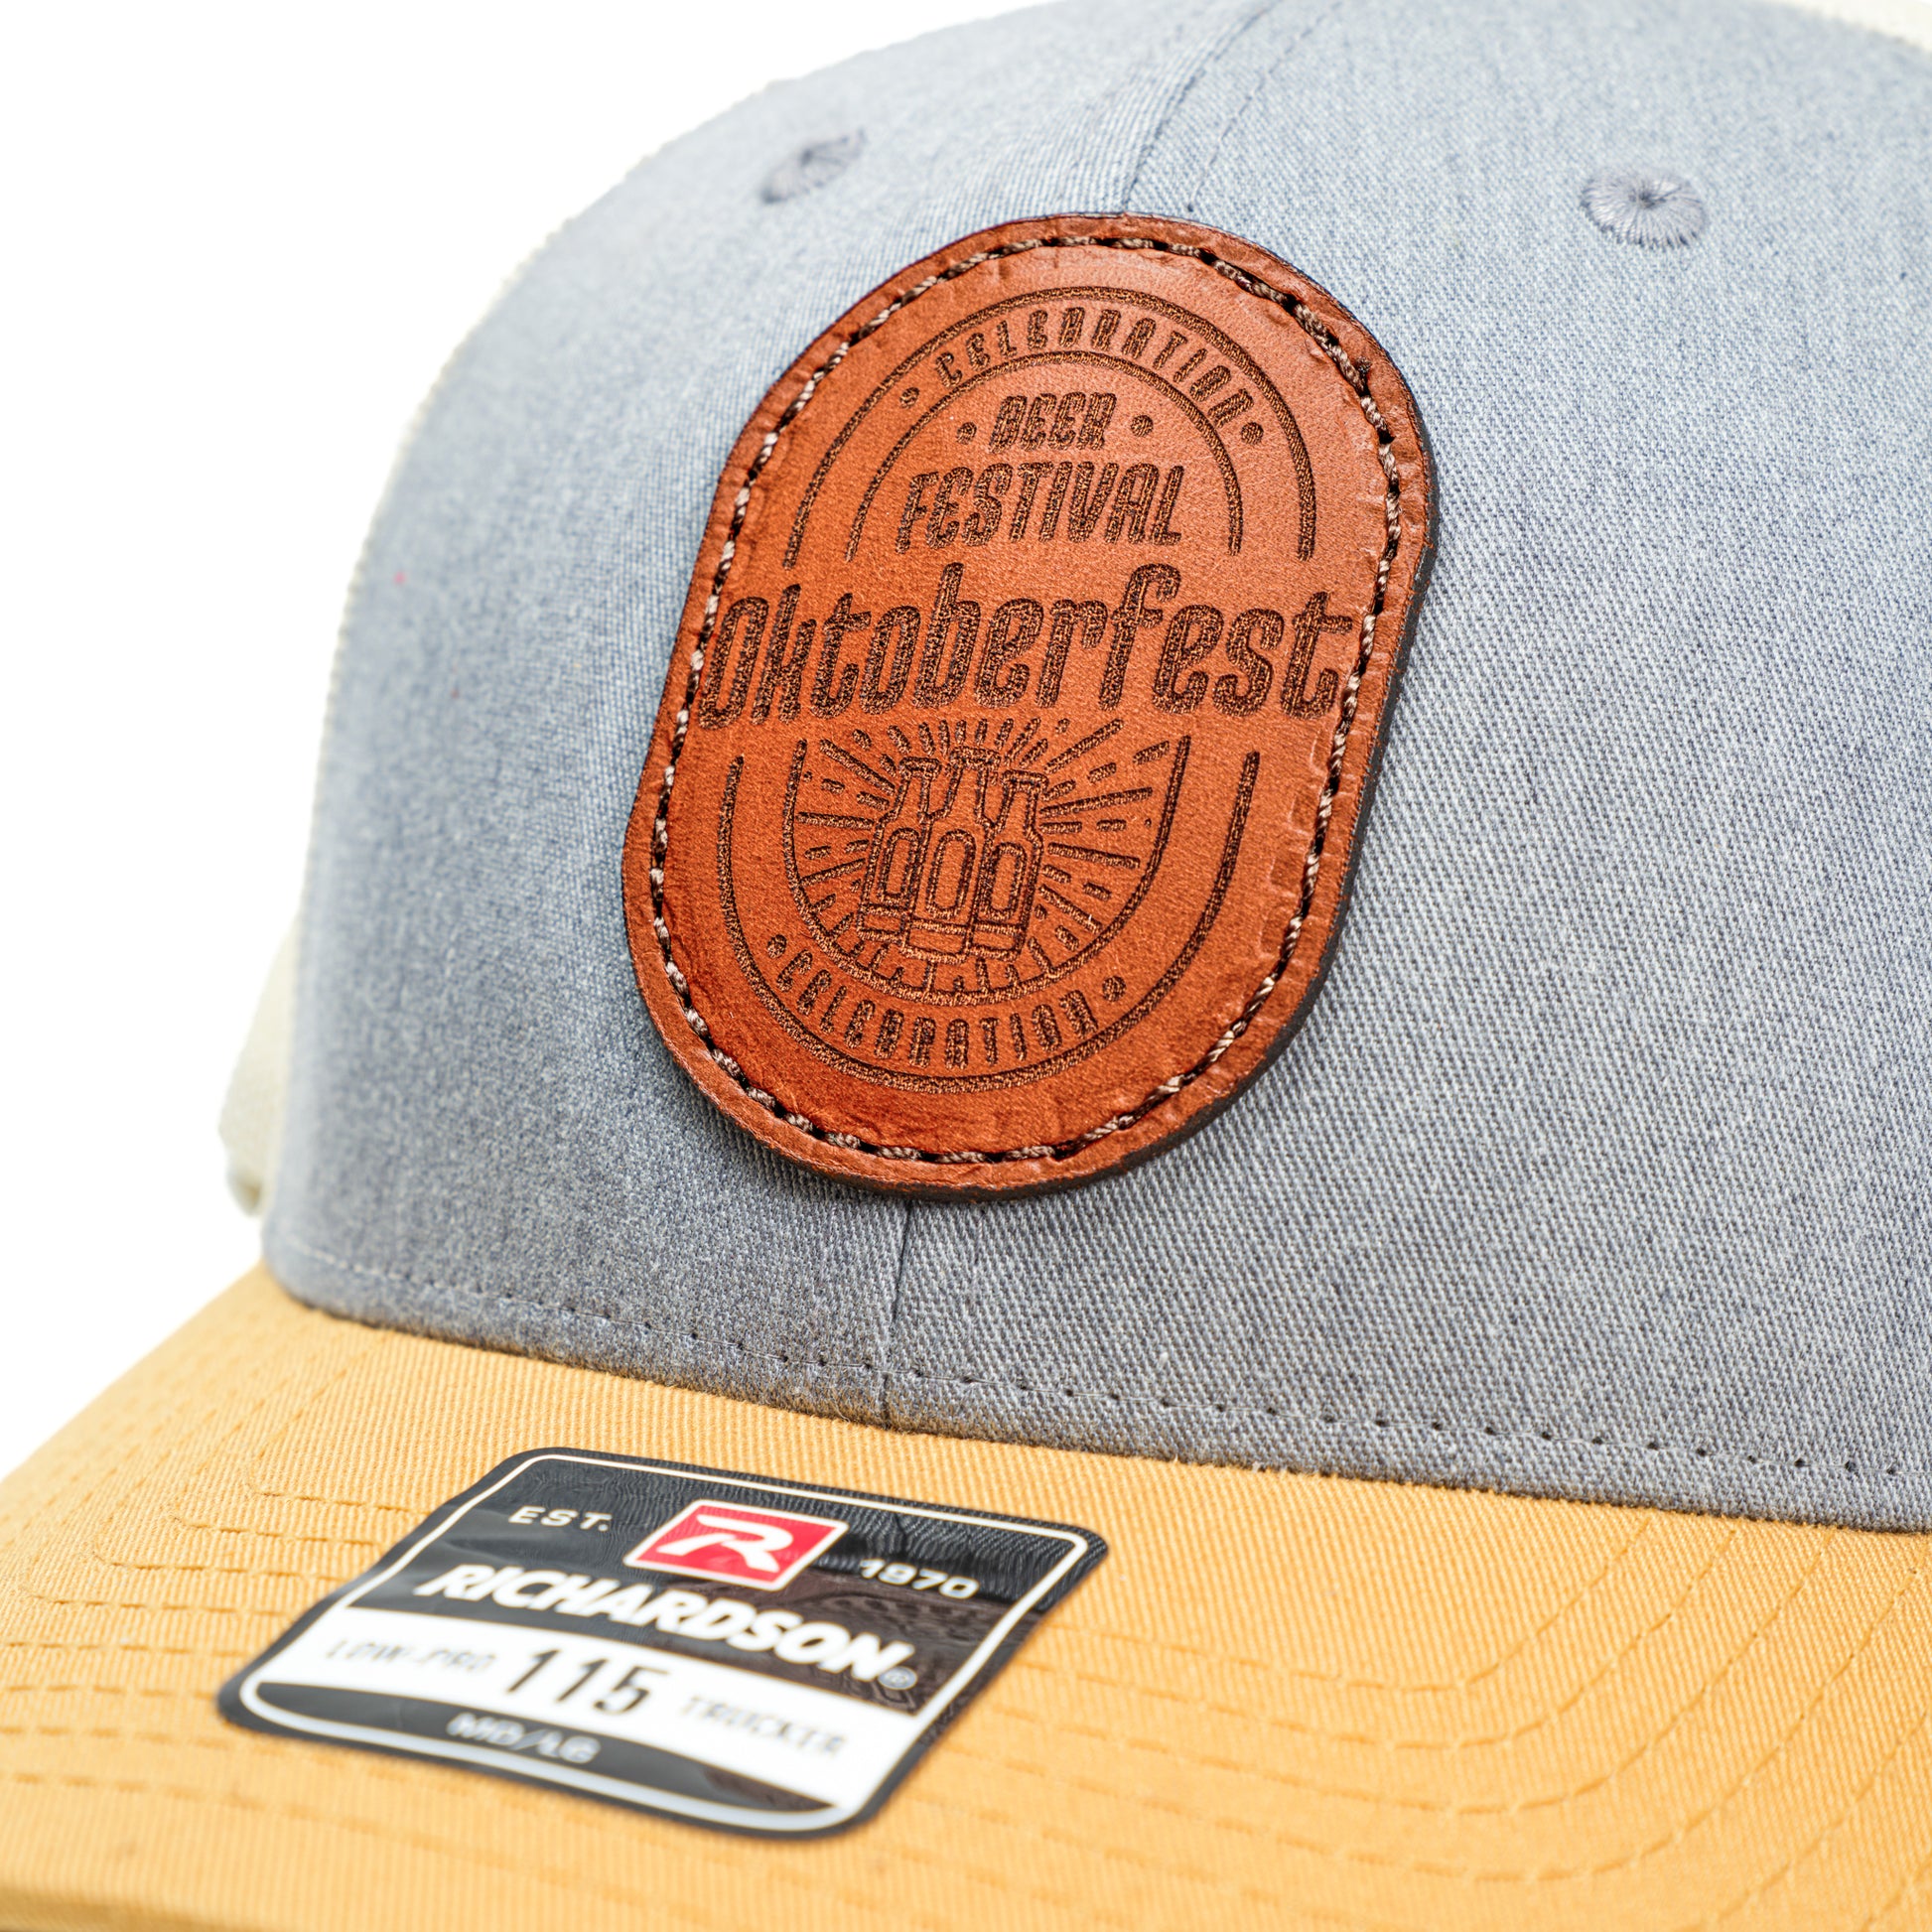
Most embroidered trucker hats include:
-
Foam or cotton front panel
-
Mesh back
-
Structured bill (often cardboard or plastic core)
-
Raised embroidery or stitched patch
Why this matters: Water + agitation + heat = warped brim and damaged stitching.
Rule #1: Never put an embroidered trucker hat in the washing machine or dryer.
Step 1: Spot Clean First (Best & Safest Method)
For light sweat stains or dirt, spot cleaning is all you need.
What You’ll Need:
-
Mild dish soap or gentle laundry detergent
-
Warm water (not hot)
-
Soft toothbrush or microfiber cloth
-
Clean towel
How To:
-
Mix a small amount of soap with warm water.
-
Dip your cloth or toothbrush into the solution.
-
Gently scrub dirty areas.
-
Around embroidery, use light circular motions — don’t dig into the stitching.
-
Wipe clean with a damp cloth.
-
Air dry.
This protects both the shape and the thread.
Step 2: Cleaning Sweat Stains on the Band
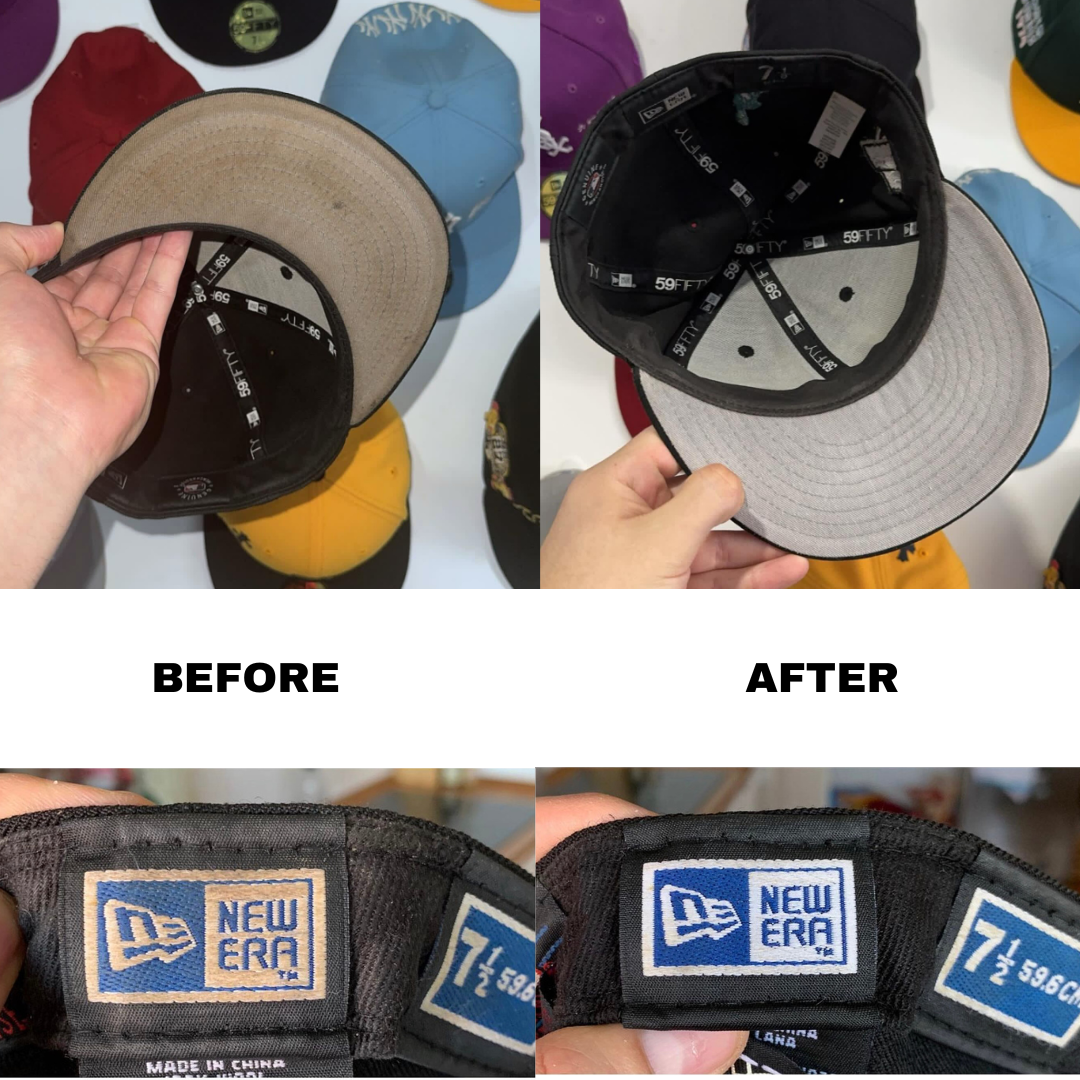
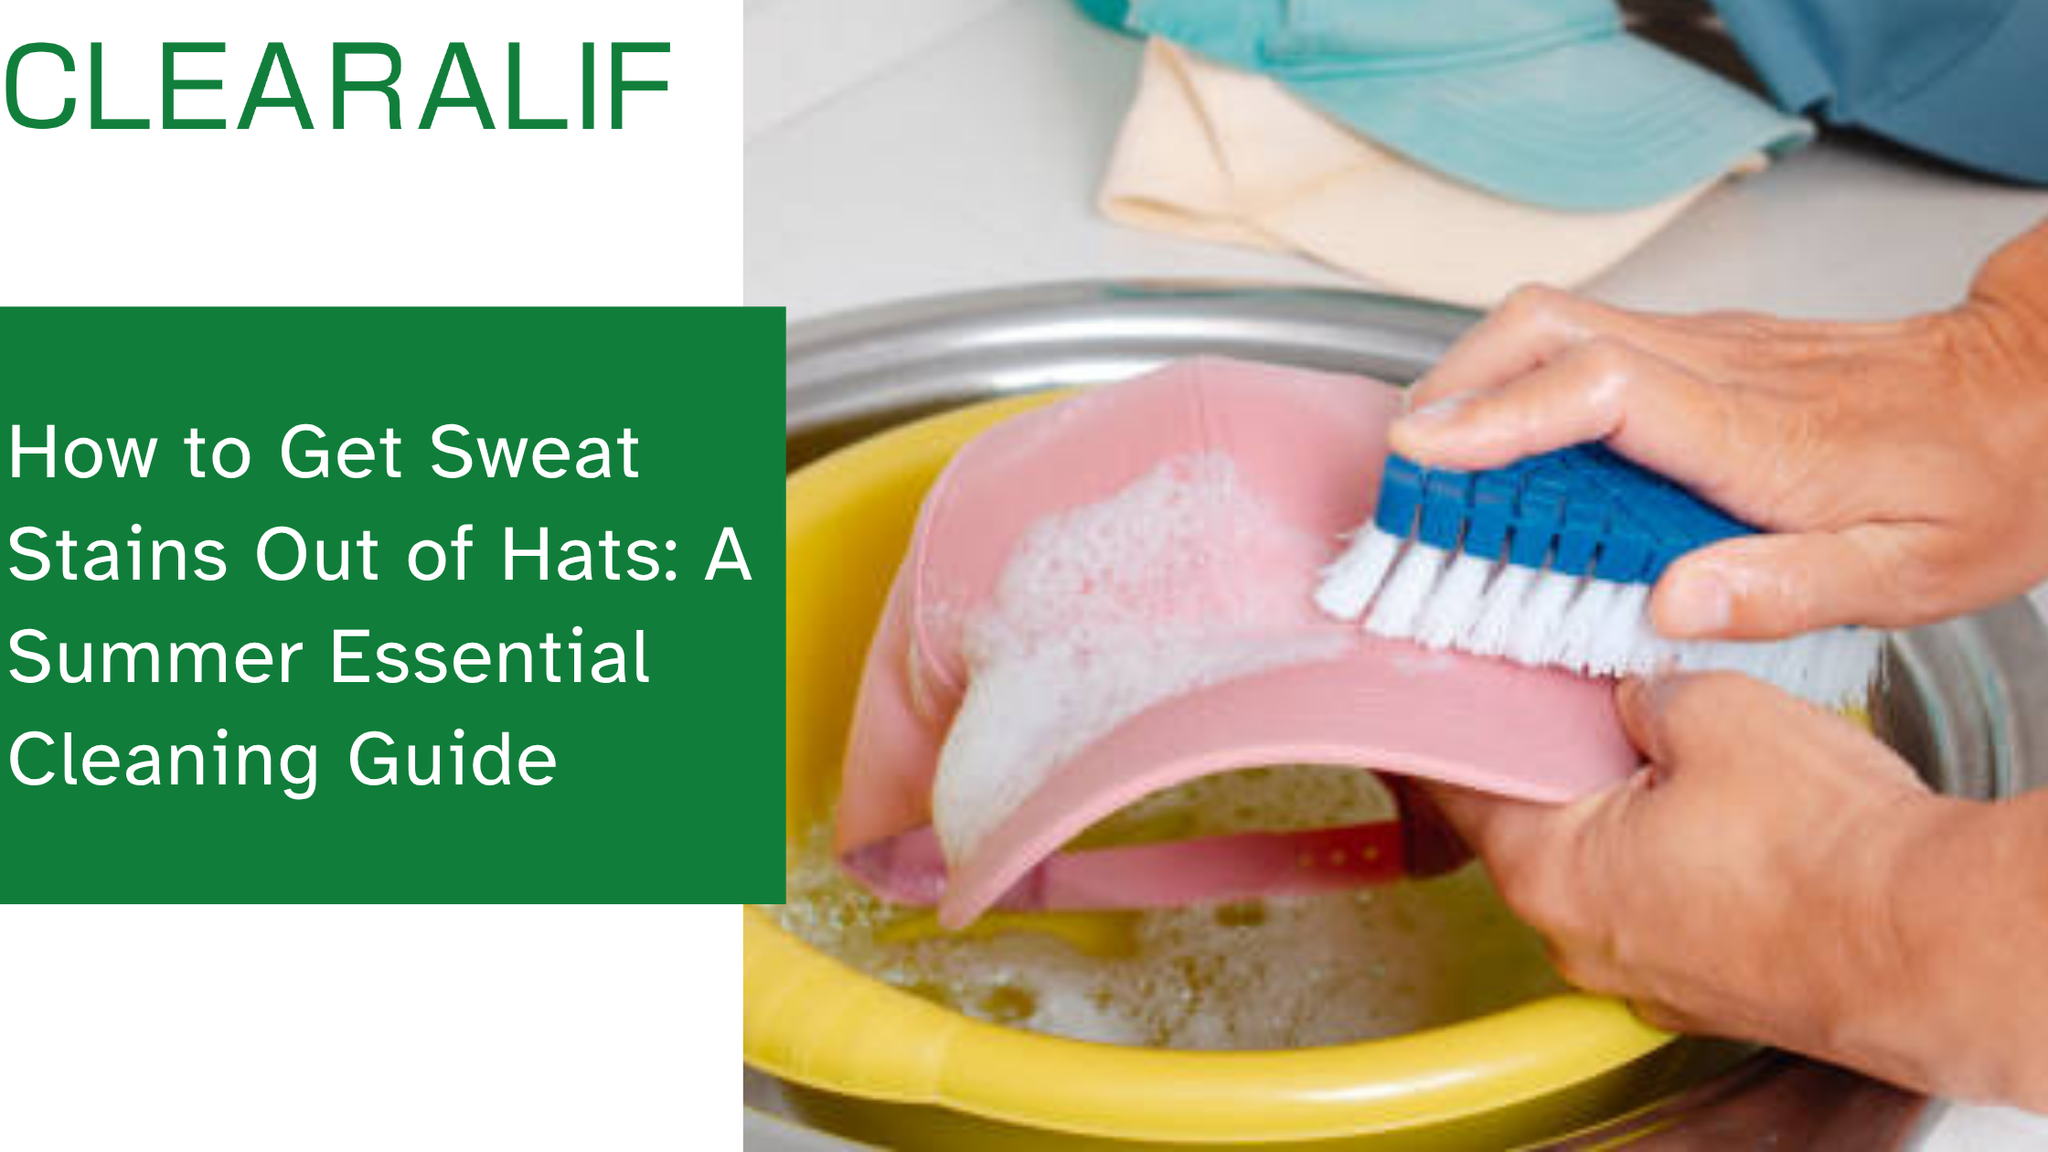
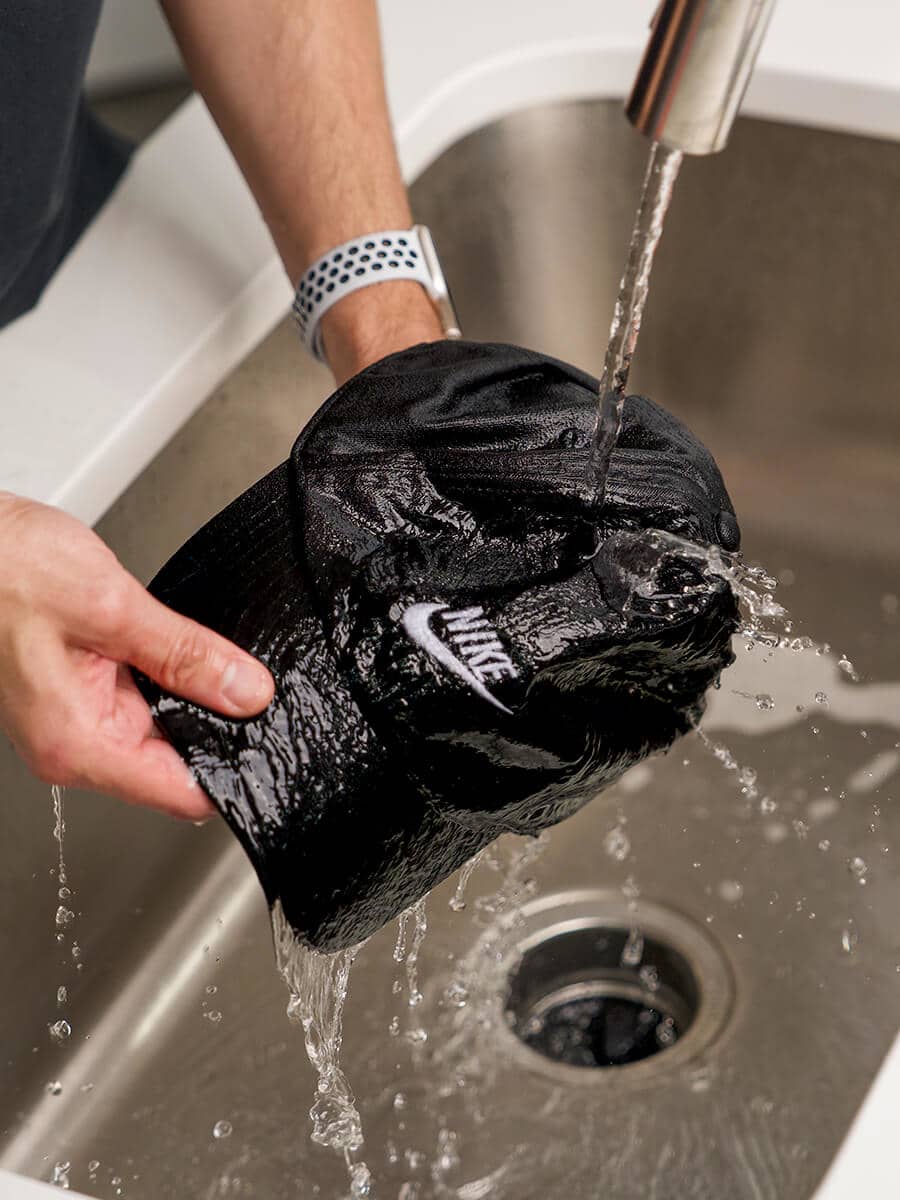
The inside sweatband is usually the dirtiest part.
-
Turn the hat inside down.
-
Use your soap mixture and gently scrub the sweatband.
-
Let it sit for 5–10 minutes.
-
Rinse carefully without soaking the entire crown.
Avoid submerging the bill if it contains cardboard — it can permanently warp.
Step 3: If You Must Deep Clean
Only do this if the hat is heavily soiled.
-
Fill a sink with cool to lukewarm water.
-
Add a small amount of mild detergent.
-
Lightly dip and clean the fabric — don’t twist or wring.
-
Keep the embroidered area from soaking too long.
-
Rinse gently.
-
Pat dry with a towel.
Never scrub aggressively over raised embroidery.
Step 4: Dry It the Right Way
Drying is where most damage happens.
-
❌ No dryer
-
❌ No direct heat
-
❌ No hanging by the bill
Instead:
-
Gently reshape the crown while damp.
-
Place it over a bowl or rolled towel.
-
Let it air dry at room temperature.
This keeps the structure crisp and professional-looking.
Extra Care for Leather or Stitched Patches
If your hat has a leather patch:
-
Do not soak it.
-
Do not use heavy detergent.
-
Wipe gently with a damp cloth only.
-
Allow it to air dry naturally.
Too much water can weaken adhesive or cause curling.
What to Avoid Completely
-
Bleach
-
Harsh stain removers
-
Dishwasher cleaning
-
High heat
-
Aggressive scrubbing
These can fade thread color, fuzz embroidery, or destroy structure.
Final Advice
If your hat is custom embroidered, treat it like gear — not laundry. A little careful cleaning goes a long way toward keeping it looking sharp for years.